

10 min read
How much tile do I need? Measuring, waste allowance and boxes
Work out how much tile to buy: measure m², add waste for straight, diagonal or herringbone layouts, convert to boxes and keep spares. Worked NZ examples.
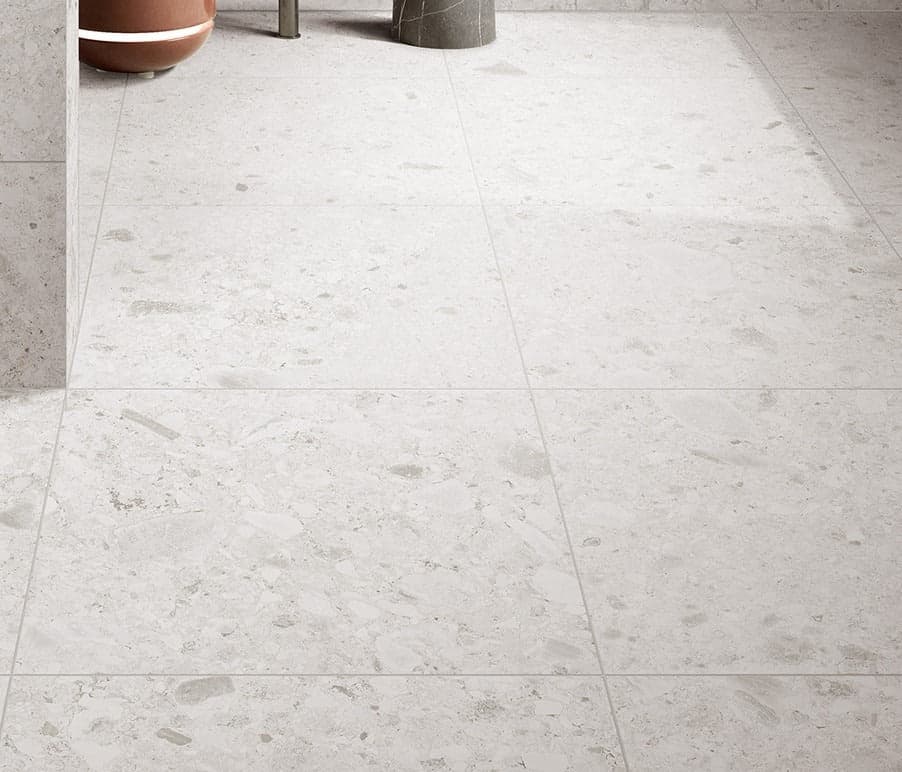
Ordering the right amount of tile saves money, stress and, most of all, mismatched floors. Order too little and you may find the next batch is a slightly different shade or size. Order far too much and you are left with boxes that cannot always be returned.
This guide shows you how to measure floors and walls in square metres (m²), how much extra to allow for cuts and breakages depending on your layout, how to convert m² into boxes, and why buying from one batch and keeping spares matters. There are worked examples throughout, using the same method as our online tile calculator.
What you need
- A tape measure (a laser measure is handy for bigger rooms).
- Paper, or a photo of the room to sketch on.
- A calculator.
- The size of the tile you are considering and how it is sold (per m², per box, per sheet or each). This is on every tile page on our site.
Measure in metres to two decimal places (for example 2.45 m). Measure each wall or floor at more than one point, because rooms are rarely perfectly square, and use the larger figure.
Step 1: Measure the area in square metres
Floors
For a rectangle: length x width = area in m².
For an L-shaped or irregular room, split the floor into rectangles, work out each one and add them together. Leave out areas that will not be tiled, such as under a fixed kitchen island or a built-in bath, but only if you are sure they will never be exposed.
Walls
For each wall: width x tiled height = area in m². Add the walls together, then subtract large openings such as doors and windows, up to the tiled height. Do not subtract small things like power points or taps; the offcuts make up for them.
Remember to add:
- Window reveals and niche returns (the sides, top and bottom of a recess).
- Any boxing around pipes.
- Skirting tiles, if you are cutting them from floor tiles (worked out in linear metres; see below).
Step 2: Add a waste allowance
Every tiled area needs extra for cuts at edges, around fittings and for the occasional breakage. How much depends mostly on the layout.
Straight lay (grid) or simple brick bond
- Typical allowance
- about 10%
- Why
- Cuts only at the edges
Diagonal (45°)
- Typical allowance
- about 15% to 18%
- Why
- Triangular cuts along every wall
Herringbone, chevron
- Typical allowance
- about 15% to 20%
- Why
- Angled cuts at every edge, more offcuts that cannot be reused
Large format tiles (600 x 1200 mm and up)
- Typical allowance
- about 15% to 20%
- Why
- Each cut tile is a big piece; offcuts are often too small to reuse
Our tile calculator uses 10% for straight lay, 18% for diagonal and 20% for herringbone or large format, and lets you set your own figure.
Allow a little more for:
- Small rooms with lots of corners, nooks and fittings.
- Shower niches, window reveals and boxed pipes.
- Handmade-look or highly varied tiles, where you may want to set aside pieces you do not like.
- Mosaics or patterns that need to line up across a room.
- A first-time DIY job.
Step 3: Convert m² into boxes
Tiles are sold in whole boxes, so you need to round up. Every tile page on our site shows how the tile is sold (per m², per sheet or each), and tiles sold by the m² have a quantity tool on the page that includes the allowance for cuts. We confirm the box count when you order.
Boxes needed = area including waste ÷ m² per box, rounded up to a whole box.
Useful numbers if you want to count tiles:
600 x 1200 mm
- Area per tile
- 0.72 m²
- Tiles per m²
- about 1.39
600 x 600 mm
- Area per tile
- 0.36 m²
- Tiles per m²
- about 2.78
300 x 600 mm
- Area per tile
- 0.18 m²
- Tiles per m²
- about 5.56
330 x 330 mm
- Area per tile
- 0.109 m²
- Tiles per m²
- about 9.18
200 x 200 mm
- Area per tile
- 0.04 m²
- Tiles per m²
- 25
75 x 150 mm
- Area per tile
- 0.01125 m²
- Tiles per m²
- about 88.9
These figures ignore grout joints, which slightly increase coverage in practice. Base your order on the m² per box printed on the box or product page.
Worked examples
The box sizes below are examples to show the method. Always use the actual m² per box for your chosen tile.
Example 1: a bathroom floor, straight lay
- Floor: 2.4 m x 1.8 m = 4.32 m²
- Add 10% for straight lay: 4.32 x 1.10 = 4.75 m²
- Tile: 600 x 600 mm, 4 tiles per box = 1.44 m² per box
- Boxes: 4.75 ÷ 1.44 = 3.3, so round up to 4 boxes (5.76 m², 16 tiles)
Check by counting tiles: 4.32 m² ÷ 0.36 m² = 12 tiles, plus 10% = 13.2, so 14 tiles. Four boxes give 16 tiles, which leaves a couple of spares for future repairs.
Example 2: an L-shaped living area in herringbone
- Main area: 5.0 m x 4.0 m = 20.0 m²
- Hallway leg: 2.5 m x 1.6 m = 4.0 m²
- Total: 24.0 m²
- Add 20% for herringbone: 24.0 x 1.20 = 28.8 m²
- Tile: 200 x 1200 mm plank, 6 per box = 1.44 m² per box
- Boxes: 28.8 ÷ 1.44 = exactly 20 boxes
When the answer comes out exactly on a whole box, there are no spares left over. Order one extra box (21) for repairs.
For comparison, the same floor laid straight would need 24.0 x 1.10 = 26.4 m², or 19 boxes. The herringbone pattern costs about two extra boxes in cuts.
Example 3: shower walls with a niche
- Shower: 1.2 m wide x 0.9 m deep, tiled to 2.1 m high on three walls
- Back wall: 1.2 x 2.1 = 2.52 m²
- Two side walls: 0.9 x 2.1 x 2 = 3.78 m²
- Niche returns: a 300 x 600 mm niche, 100 mm deep, has a perimeter of 1.8 m, so 1.8 x 0.1 = 0.18 m²
- Total: 2.52 + 3.78 + 0.18 = 6.48 m²
- Add 10%: 6.48 x 1.10 = 7.13 m²
- Tile: 300 x 600 mm, 8 per box = 1.44 m² per box
- Boxes: 7.13 ÷ 1.44 = 4.95, so 5 boxes (7.2 m²)
Five boxes covers it with almost nothing to spare. With a niche and plenty of cuts around the mixer and rose, a sixth box is the safer choice.
Example 4: bathroom walls to half height with a door
- Room: 2.4 m x 1.8 m, so the perimeter is 2 x (2.4 + 1.8) = 8.4 m
- Tiled to 1.2 m high: 8.4 x 1.2 = 10.08 m²
- Subtract the door up to the tiled height: 0.8 m x 1.2 m = 0.96 m²
- Wall area: 10.08 minus 0.96 = 9.12 m²
- Add 10%: 9.12 x 1.10 = 10.03 m²
- With 75 x 150 mm subway tiles (about 88.9 per m²), that is roughly 892 tiles. Round up to whole boxes using the m² per box for that tile.
Example 5: a mosaic splashback
- Splashback: 3.0 m long x 0.6 m high = 1.8 m²
- Add 10%: 1.98 m²
- Mosaic sheet: 29.6 x 29.7 cm, about 0.088 m² per sheet (for example our KitKat mosaics)
- Sheets: 1.98 ÷ 0.088 = 22.5, so 23 sheets
Mosaics are often sold by the sheet, so check how your chosen mosaic is sold before converting.
Example 6: skirting tiles cut from floor tiles
- Room perimeter 8.4 m, minus a 0.8 m doorway = 7.6 linear metres
- Cutting 600 x 600 mm tiles into 100 mm high strips gives about five usable strips per tile once saw cuts and edges are allowed for, so about 3.0 m of skirting per tile
- 7.6 ÷ 3.0 = 2.5, so 3 tiles, plus a spare
Add these to your floor tile order, or buy matching skirting pieces if the range has them.
Buy from the same batch (lot)
Tiles are made in production runs. Each run can differ slightly in shade, tone and even size, and our returns and variations page notes that shade, tone, texture and finish can vary between batches, and that size tolerances of up to plus or minus 1 to 2 mm are industry standard.
- Order the full quantity at once, so it comes from one batch where possible.
- Check the batch or lot numbers (often shown as shade and calibre codes) on every box before you start. They should match.
- Open several boxes and mix tiles as you lay them, so any small variation is spread evenly rather than showing as a patch.
- Check the tiles before installing. Installed tiles count as accepted, so raise any concerns before the first one goes down.
Coming back later for "just one more box" is the most common way people end up with a floor that does not quite match.
Buy extra for future repairs
Even well-laid tiles can crack: a dropped cast-iron pan, a shifted slab or a plumbing repair that means lifting tiles. Ranges are also discontinued over time. Keep spares from the original batch:
- At least a few spare tiles of each type, and ideally a full box for floors.
- Store them somewhere dry, with the box label showing the batch details.
- Keep some leftover grout colour details too (product name and colour code), so repairs match.
Boxes vs m²: things to know before you order
- Prices on our site are shown per m² (or per sheet or each), both excluding and including GST, but tiles sold by the m² are supplied in whole boxes. The box count, not your exact m², sets the final quantity.
- Returns are limited. Our returns policy accepts change-of-mind returns of full, unopened boxes within 30 days of pickup, in resaleable condition, with a 20% restocking fee and return freight costs for tiles. Opened boxes, cut tiles, special orders and end-of-line or clearance stock cannot be returned. Order carefully, but do not cut your allowance so fine that you run short.
- Allow for adhesive, grout, trims and spacers too. Coverage rates are on each product's data sheet. Ask us and we will help you work out quantities for your tile size and substrate. See tiling supplies.
A quick checklist
- Measure each area in metres, more than once.
- Work out m² for floors and walls, subtracting doors and windows.
- Add waste: about 10% straight, 15% to 18% diagonal, 15% to 20% herringbone or large format.
- Divide by m² per box and round up.
- If you land exactly on a whole box, add one.
- Order everything at once from the same batch.
- Keep spares for repairs.
Let us check your numbers
Use our tile calculator for a quick estimate, or email your measurements, a sketch and the tile you like to contact@atelierceramics.co.nz and we will confirm box quantities before you order. You are also welcome to bring your plans to our showroom at Unit 2/4 Cemetery Road, Cromwell (see the showroom page). Browse all tiles to get started.
If you would like it measured and laid for you, our sister business Nunes Tiling installs tiles across Central Otago, including Cromwell, Wanaka, Queenstown and Alexandra. Ask for a quote on our installation page. For help choosing the tile itself, see our guide to choosing tiles by room.
Questions
- How do I calculate how many tiles I need?
- Multiply length by width to get the area in m², add a waste allowance (about 10% for a straight lay), then divide by the m² per box and round up to a whole box. For walls, subtract doors and windows up to the tiled height.
- How much extra tile should I buy for waste?
- About 10% for a straight or brick lay, about 15% to 18% for diagonal, and about 15% to 20% for herringbone, chevron or large-format tiles. Add a little more for small rooms with lots of cuts, niches or highly varied tiles.
- Why do tile batches matter?
- Each production batch can vary slightly in shade and size. Buying everything from one batch, checking the batch codes on every box and mixing tiles from several boxes as you lay keeps the finished surface even.
- How many spare tiles should I keep?
- Keep at least a few spare tiles of each type and, for floors, ideally a full box from the original batch. Ranges are discontinued over time and later batches may not match.
- How many 600 x 600 mm tiles are in a square metre?
- About 2.78, since each tile covers 0.36 m². Grout joints slightly increase coverage, but always order using the m² per box shown for the tile.
- Do I subtract doors and windows from wall measurements?
- Yes, subtract large openings up to the tiled height. Do not subtract small items like power points or tap holes; the offcuts balance them out.
- Can I return leftover tiles?
- Full, unopened boxes in resaleable condition can be returned within 30 days of pickup under our change-of-mind policy, with a 20% restocking fee and freight costs. Opened boxes, special orders and clearance stock cannot be returned. See our returns page for full details.